Even though it is September, farm fresh zucchinis still seem to be available in abundance. We like freezing
zucchinis as part of a meal kit, making putting a meal on the table, a much easier task.
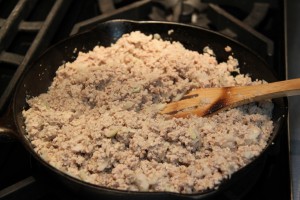
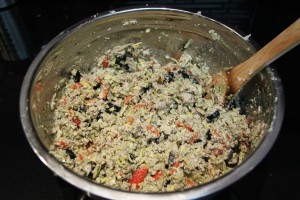
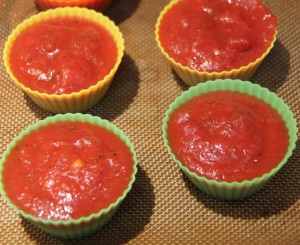
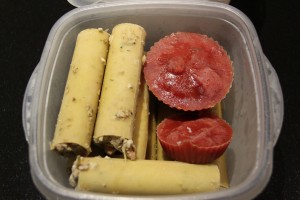
I recently made a batch of make ahead Slow Cooker Morrocan Lamb. This make ahead meal had three component parts to it and frozen zucchinis were one part of the components.
Preparing a little bit in advance, makes putting dinner together so much faster and we get a little taste of summer throughout the fall and winter.
Blanching Zucchinis
Blanching zucchinis is a super-duper important step because it slows down or even stops the action of enzymes. These particular enzymes are needed for growing and ripening. If we don’t stop the enzyme action before freezing, the zucchinis could continue to mature, toughen, discolour and develop off-flavours and may even become unappetizing in a very short period. What a big waste of time!
The blanching process also softens the zucchini and makes it somewhat easier to pack. Microorganisms are killed and the zucchini colour may become a little bit brighter.
Following the recommended blanching time is very, very important. If you underblanch, you can possibly stimulate the activity of enzymes and this is worse than not blanching at all. Overblanching causes loss of vitamins, minerals, flavour and colour.
How to Freeze Zucchini
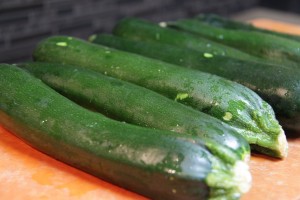
Be sure to start with fresh, ripe and tender zucchinis straight from the garden to capture the most flavour.
Step 1
Wash the zucchini, with your hands or a soft brush, in cool running water. Cut into 1/4-inch thick cubes with a knife. Do not cut and then leave for later to blanch, as the zucchini will discolour.
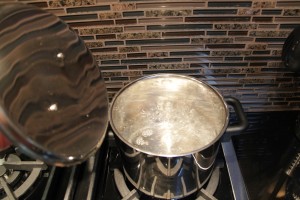
Step 2
Fill a pot with approximately 1 gallon of unsalted water. Bring the water to a rolling boil.
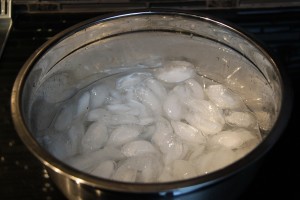
Step 3
Set another bowl close to the stove top. Fill the bowl with half ice and half cold water.
Step 4
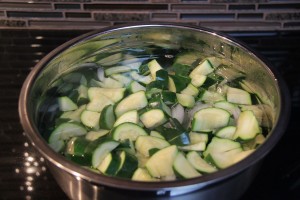
Place up to 1 lb. of the zucchini in the boiling water. Allow the water to return to a full boil.
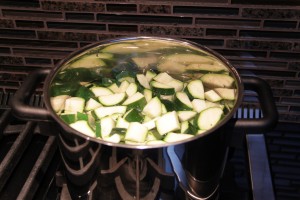
Step 5
Boil the zucchini for exactly 3 minutes. When it comes out, the zucchini should still be firm. Remove it from the water with a slotted spoon and place it right away in the bowl of ice water.
Step 6
Cool the zucchini in the ice water for 3-5 minutes, to stop the cooking process, or until it feels completely cold to the touch.
Move the zucchini into a strainer to drain for a few minutes, Then pat dry with paper towels.
Step 7
If you have time, lay the individual zucchini pieces on a cookie sheet and freeze them this way for a few hours, or overnight, first before putting in freezer ziploc bags. If you take the time to do this, they will freeze more evenly and defrost a little bit better.
Step 8
Put the zucchini pieces in a freezer ziploc bag and remove all the air from the bag, seal and place it in your freezer.
Maximum storage time in the freezer is 12 months.
Final Note: Since zucchini has some water content, when you are ready to use them, be sure to cook from frozen right away and do not allow to defrost. Ideally frozen zucchini should be used in stews or casseroles as you can expect the original shape of the fresh zucchini to be different.


 Cook on high for 3-4 hours:


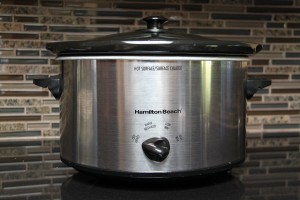
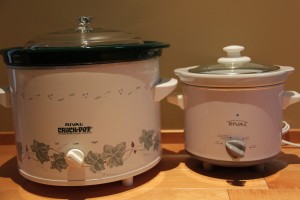 Be sure to buy the right sized slow cooker, or have a couple of different sized slow cookers on hand. Make sure there is enough food in the crock AND not too much food. The food or liquid must comes at least half way up the wall of the crock insert, as the element is located on the sides of the slow cooker. If only half-filled, check for doneness 1 to 2 hours earlier than recipe. The emptier the slow cooker, the faster it cooks. Alternatively, do not overload the crock pot. Half full to three quarters full is recommended for most crock pots.